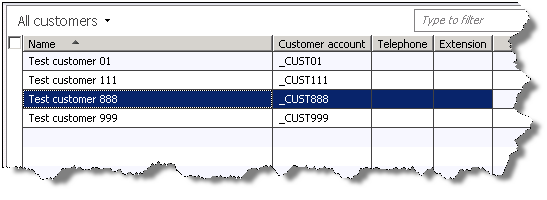
This article will show you step-by-step how to do a basic customer import (including corresponding GAB and address data) using AIF in AX 2012. It’s assumed that you’ve already completed the basic setup necessary to create customers manually through the AX client user interface.
Beginning with Dynamics AX 2009, the Global Address Book (GAB) feature was integrated into various business objects (e.g. customers, vendors, etc.). This presented some new challenges with respect to data imports involving those business objects. Specifically, customer imports became a bit more complicated because the new GAB data relationships had to be handled during the import process.
The GAB continued to evolve with the release of Dynamics AX 2012. As would be expected, these GAB updates are incorporated into the customer document available in the Application Integration Framework (AIF). However, importing customers successfully via AIF can be a bit tricky if you miss some key points.
Configuration
Active Directory (AD) account
For audit trail purposes, create a dedicated AD user account for integration purposes. This will help you distinguish between data created by your normal business users vs. data imported automatically by AIF.
Example: <DOMAIN>\ax_aif_integration
(where <DOMAIN> is your Active Directory domain name)
This account should be added as a user within AX and be assigned the appropriate security rights to allow it the ability to create customer, GAB, and address records. It should NOT be given elevated privileges (i.e. local administrator on host machine operating system or System administrator role within AX).
File location
For this example, we’ll be using the File System Adapter for AIF. Create the following local folders:
C:\TestAIF\Customers\Inbound
C:\TestAIF\Customers\Outbound
On the TestAIF folder, set read/write access for the ax_aif_integration account that you created in the previous step.
Inbound port
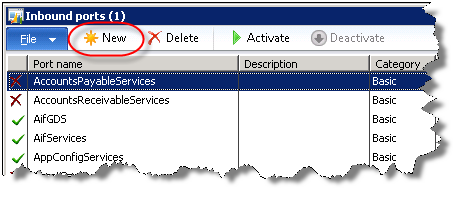
Log into AX 2012 with an account belonging to the System administrator role. Configure a new Inbound port. Navigate to:
Click the New button.
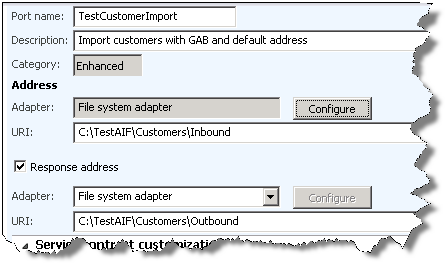
Enter the following settings.
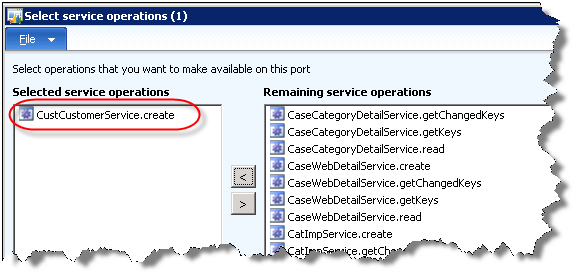
Next, set up the Service operations.

Select the CustCustomerService.create service and click the Close button to save your selection.
Now configure the Data policies.

Set the attributes as follows:
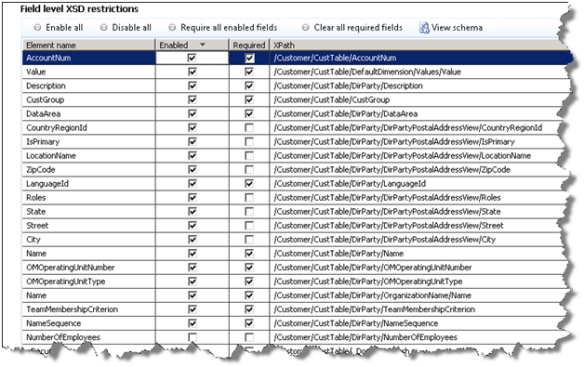
Then click the View schema button.
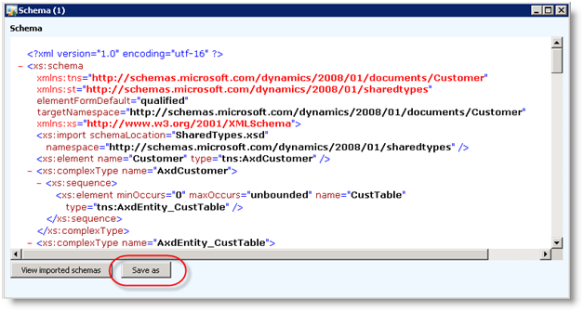
Click the Save as button.
Save the XML schema to C:\workspot\Customer_TestCustomerImport.xsd.
Next click the View imported schemas button on the main Schema form.
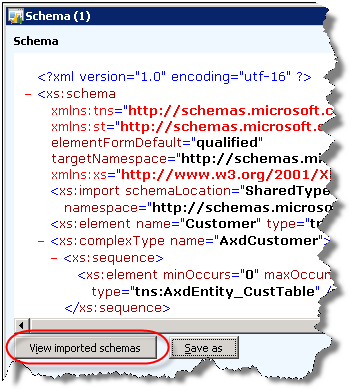
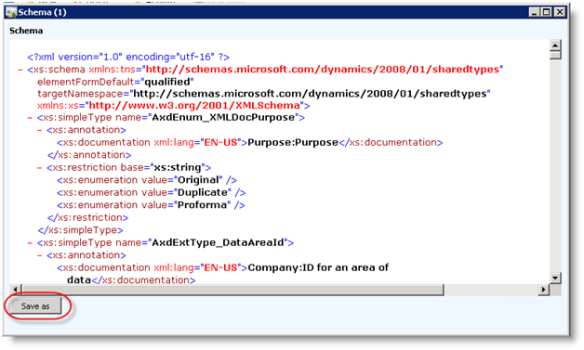
Click the Save as button.
Save the XML schema to C:\workspot\SharedTypes.xsd.
Close the Schema forms and the Document data policies form.
On the Inbound ports form, select your newly created port (TestCustomerImport) and click the Activate button.

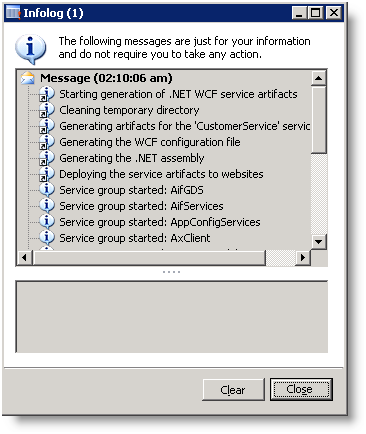
After a few seconds, an Infolog will appear.
Batch jobs
Navigate to:
Set up the following batch job and click the View tasks button.
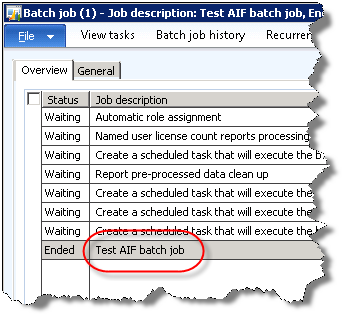
You’ll need to set up these 4 Batch tasks:

The Company accounts and Class name fields are mandatory. The Task description, Has conditions and Batch group fields are optional but recommended. If you set up conditions, execute the tasks in this order:
- AifGatewayReceiveService
- AifInboundProcessingService
- AifOutboundProcessingService
- AifGatewaySendService
XML data
You will need to create a sample customer data file in XML format to test the import. Log into your desktop using your ax_aif_integration account so that the file ownership of the XML file gets set to that account. Be sure your ax_aif_integration account does NOT have local admin privileges as that will interfere with the default file ownership assignment in newer operating systems (e.g. Windows Server 2008, Windows 7).
You can use Visual Studio 2010 to assist with the creation and validation of your sample XML data file. Use the 2 XML schema files (Customer_TestCustomerImport.xsd and SharedTypes.xsd) that you previously saved to your C:\workspot folder to validate your sample XML file in Visual Studio.
Open Visual Studio 2010 and select .
Choose the Customer_TestCustomerImport.xsd file.
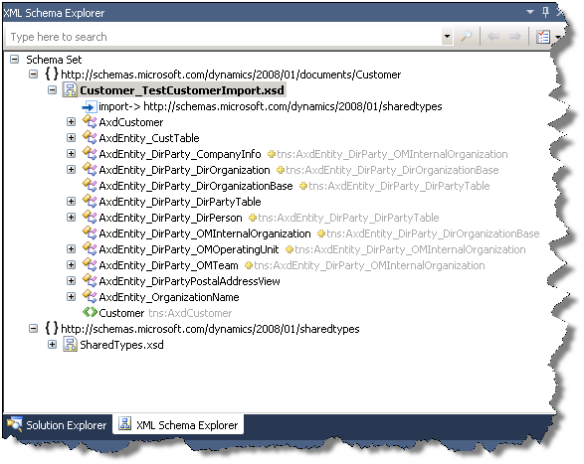
Notice the nodes with the yellow + sign that are related to the GAB. These are a bit tricky. You have to set the element attributes properly for these nodes to validate successfully (more info on that in a moment).
Create a new XML file in Visual Studio by selecting and select XML File.
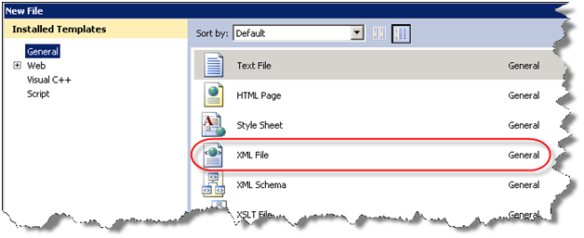
Copy and paste this sample XML data that conforms to the previously defined Data policies configuration.
<?xml version="1.0" encoding="utf-8"?>
<Envelope  xmlns="http://schemas.microsoft.com/dynamics/2011/01/documents/Message">http://schemas.microsoft.com/dynamics/2011/01/documents/Message">
   <Header>
     <MessageId>{A923D03A-E441-F222-C21B-1AC9D9F7D13E}</MessageId>
     <Action>http://schemas.microsoft.com/dynamics/2008/01/services/CustomerService/create</Action>
   </Header>
   <Body>
     <MessageParts>
       <Customer  xmlns="http://schemas.microsoft.com/dynamics/2008/01/documents/Customer">http://schemas.microsoft.com/dynamics/2008/01/documents/Customer">
         <CustTable>
           <AccountNum>_CUST888</AccountNum>
           <CustGroup>_DEFAULT</CustGroup>
           <DirParty xsi:type="AxdEntity_DirParty_DirOrganization"  xmlns:xsi="http://www.w3.org/2001/XMLSchema-instance">http://www.w3.org/2001/XMLSchema-instance">
             <LanguageId>en-us</LanguageId>
             <Name>Test customer 888</Name>
             <DirPartyPostalAddressView>
               <City>Seattle</City>
               <CountryRegionId>USA</CountryRegionId>
               <IsPrimary>Yes</IsPrimary>
               <LocationName>Test customer 888</LocationName>
               <Roles>Business</Roles>
               <State>WA</State>
               <Street>123 Main Street</Street>
               <ZipCode>98101</ZipCode>
             </DirPartyPostalAddressView>
             <OrganizationName>
               <Name>Test customer 888</Name>
             </OrganizationName>
           </DirParty>
         </CustTable>
       </Customer>
     </MessageParts>
   </Body>
</Envelope>
Any errors in the XML file will be indicated with a blue or red underline within the Visual Studio editor. Note the xsi:type and xmlns:xsi attributes in the DirParty element. Those attributes are critical for getting the GAB portion of the customer import to work properly (remember the yellow + signs mentioned earlier?). After you finish editing your sample XML data file, save it to the Inbound port file location you defined:
C:\TestAIF\Customers\Inbound
Test the integration
Now you should test your customer import. Navigate to:
Select your AIF batch job and click status.
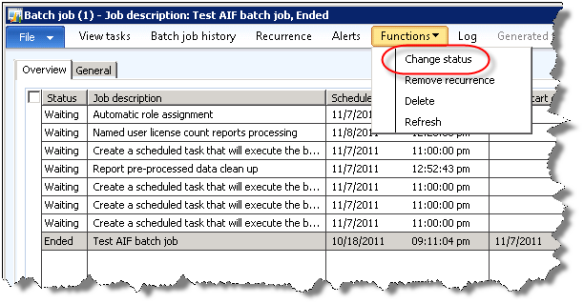
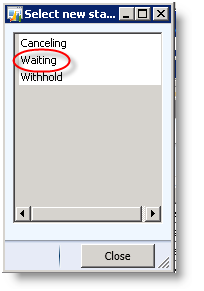
Select Waiting.
Within approximately 1 minute, the batch job will execute. Once it’s completed, its status will return to Ended (you might need to refresh the form manually to see the updated status). Navigate to:
Your new customer will now be present!
